Timber open rainscreen cladding: the ultimate guide to detailing

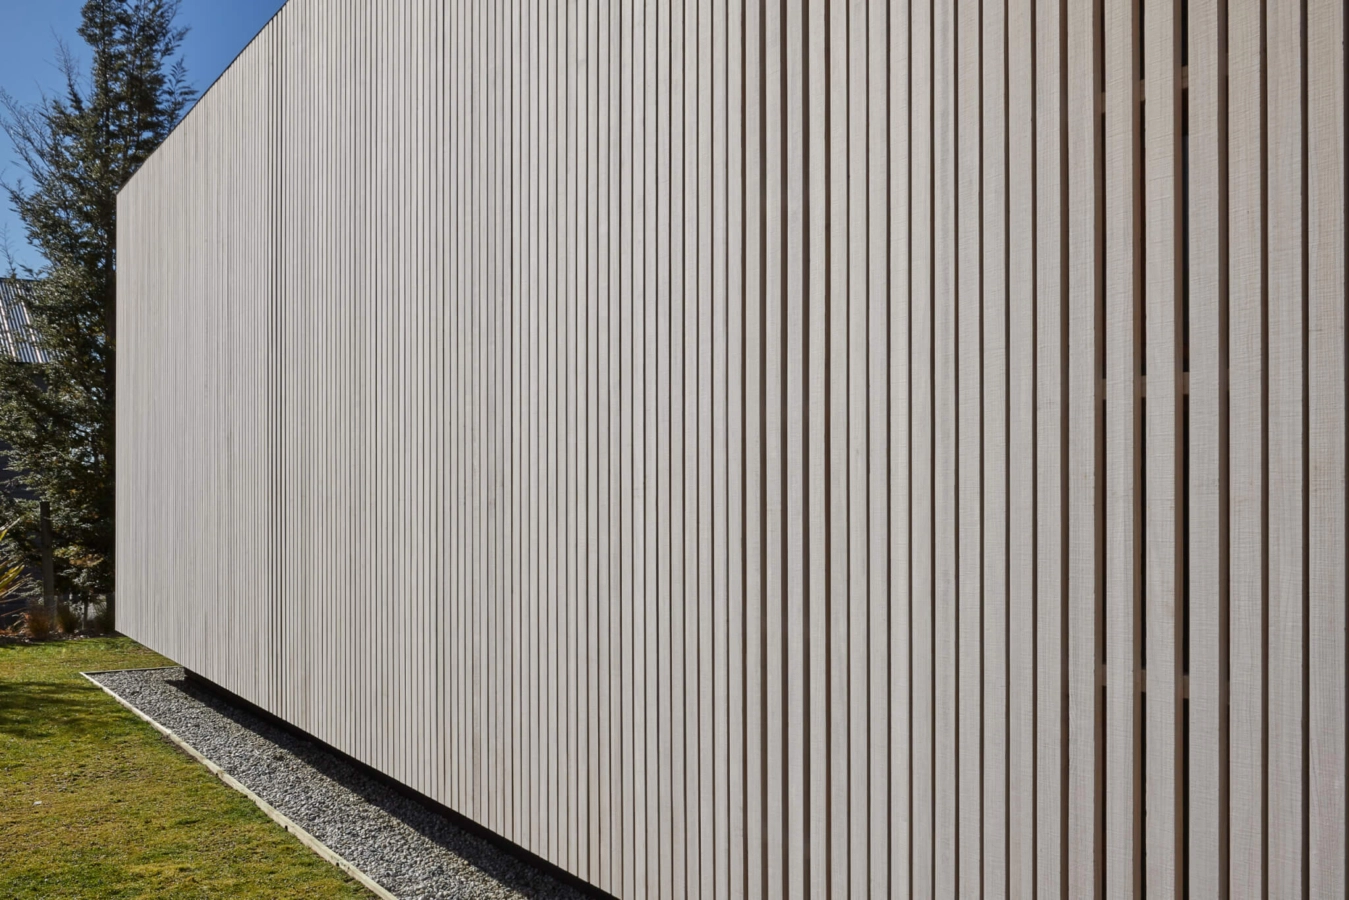
Open rainscreen cladding is an outer ‘skin’ with a ventilated cavity, which is fixed onto the substructure of a building. ‘Rainscreen’ actually applies to all timber cladding arrangements as all require a ventilated cavity to ensure the free flow of air, enabling the drying of timber and evaporation of moisture in the cavity. In this blog, Head of Technical & R&D, Gareth Davies shares his expertise and industry best practise when detailing open rainscreen cladding.
Impactful detailing
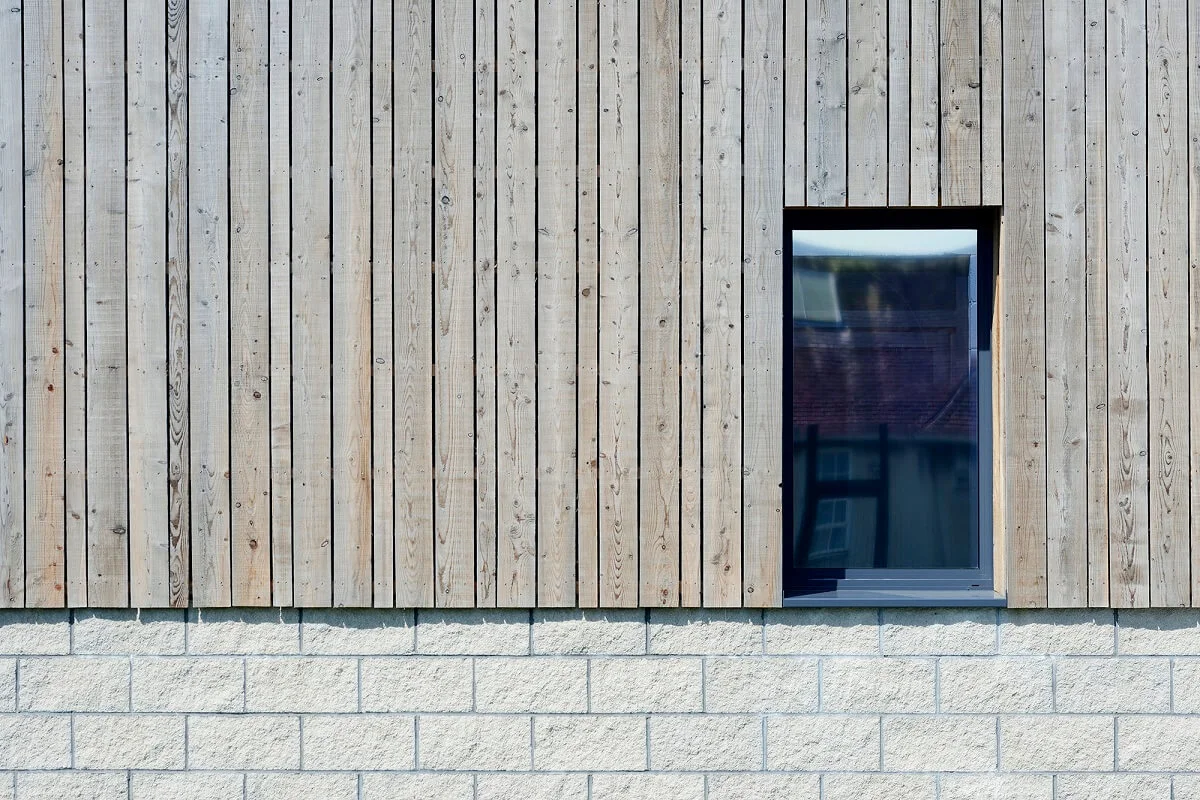
Timber cladding is becoming increasingly popular for new and retrofit projects, as we can achieve different aesthetics using a long lasting and versatile building material whilst being sustainably conscious. Whether you are considering timber cladding for the first time or you have worked with timber for a while, it’s imperative that you understand how impactful small detailing decisions can be when it comes to using timber in external conditions.
Why ventilation is key
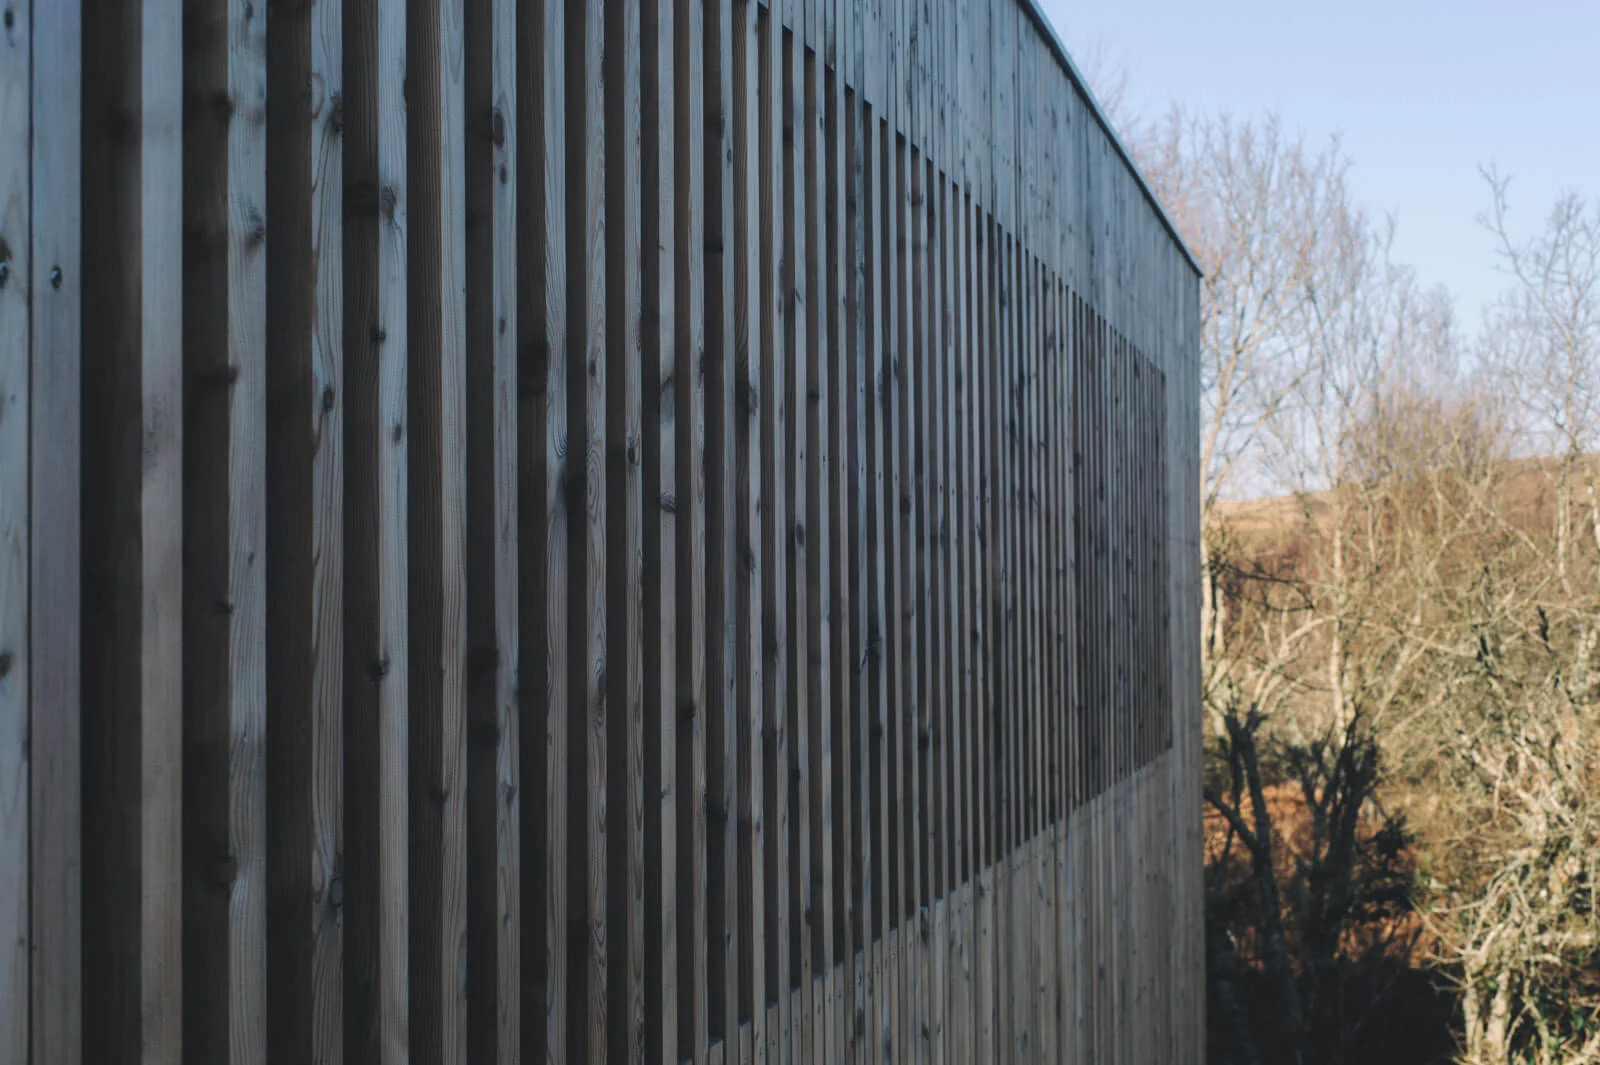
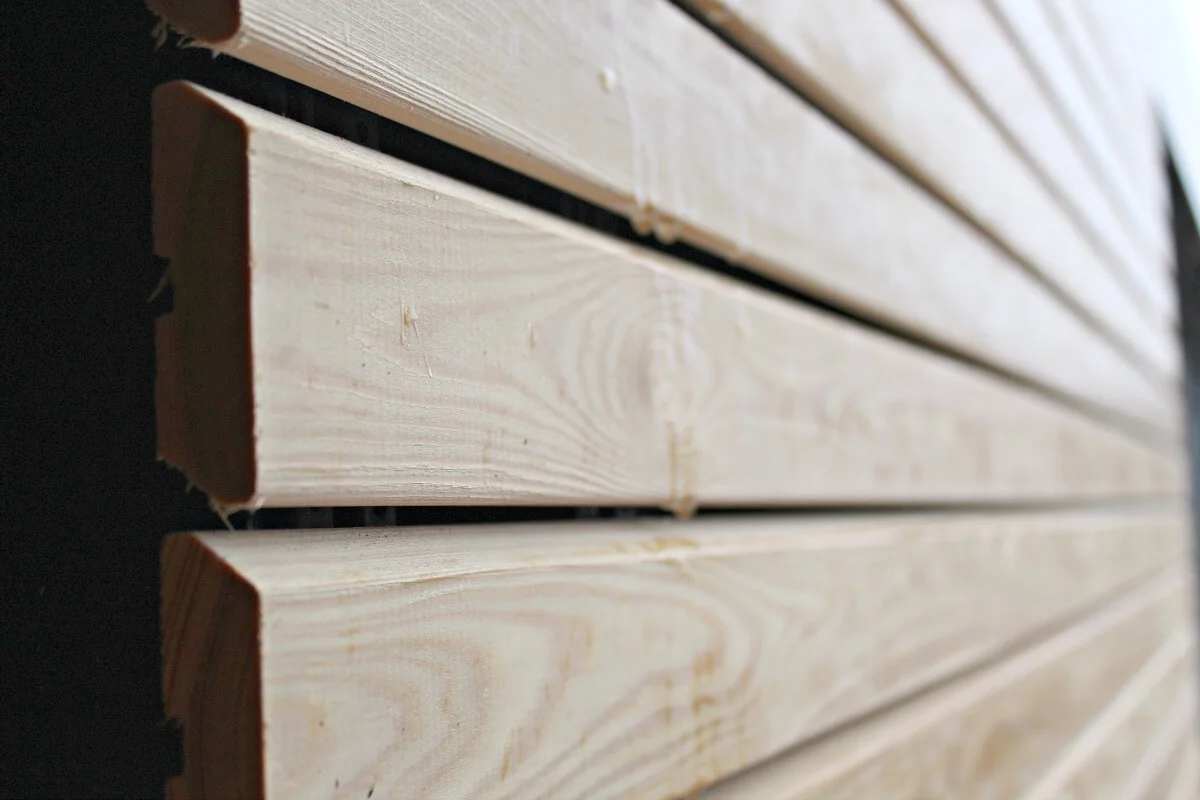
One of the first things to consider when designing an open rainscreen is the size of the ventilation gap between the boards. Timber is a hygroscopic material, which means that it interacts with moisture in the atmosphere of its surroundings. Wet wood loses moisture by evaporating it from its surface while dry wood takes up moisture from a damp atmosphere. This moisture gain/loss process is happening constantly as wood tries to get into balance with its surroundings to reach equilibrium moisture content, and as a result it undergoes movement (shrinking and expansion). The extent of this movement will vary between species but as a general rule, an 8mm wide gap will give enough room for the boards to move without causing any issues down the line.
Designing for performance
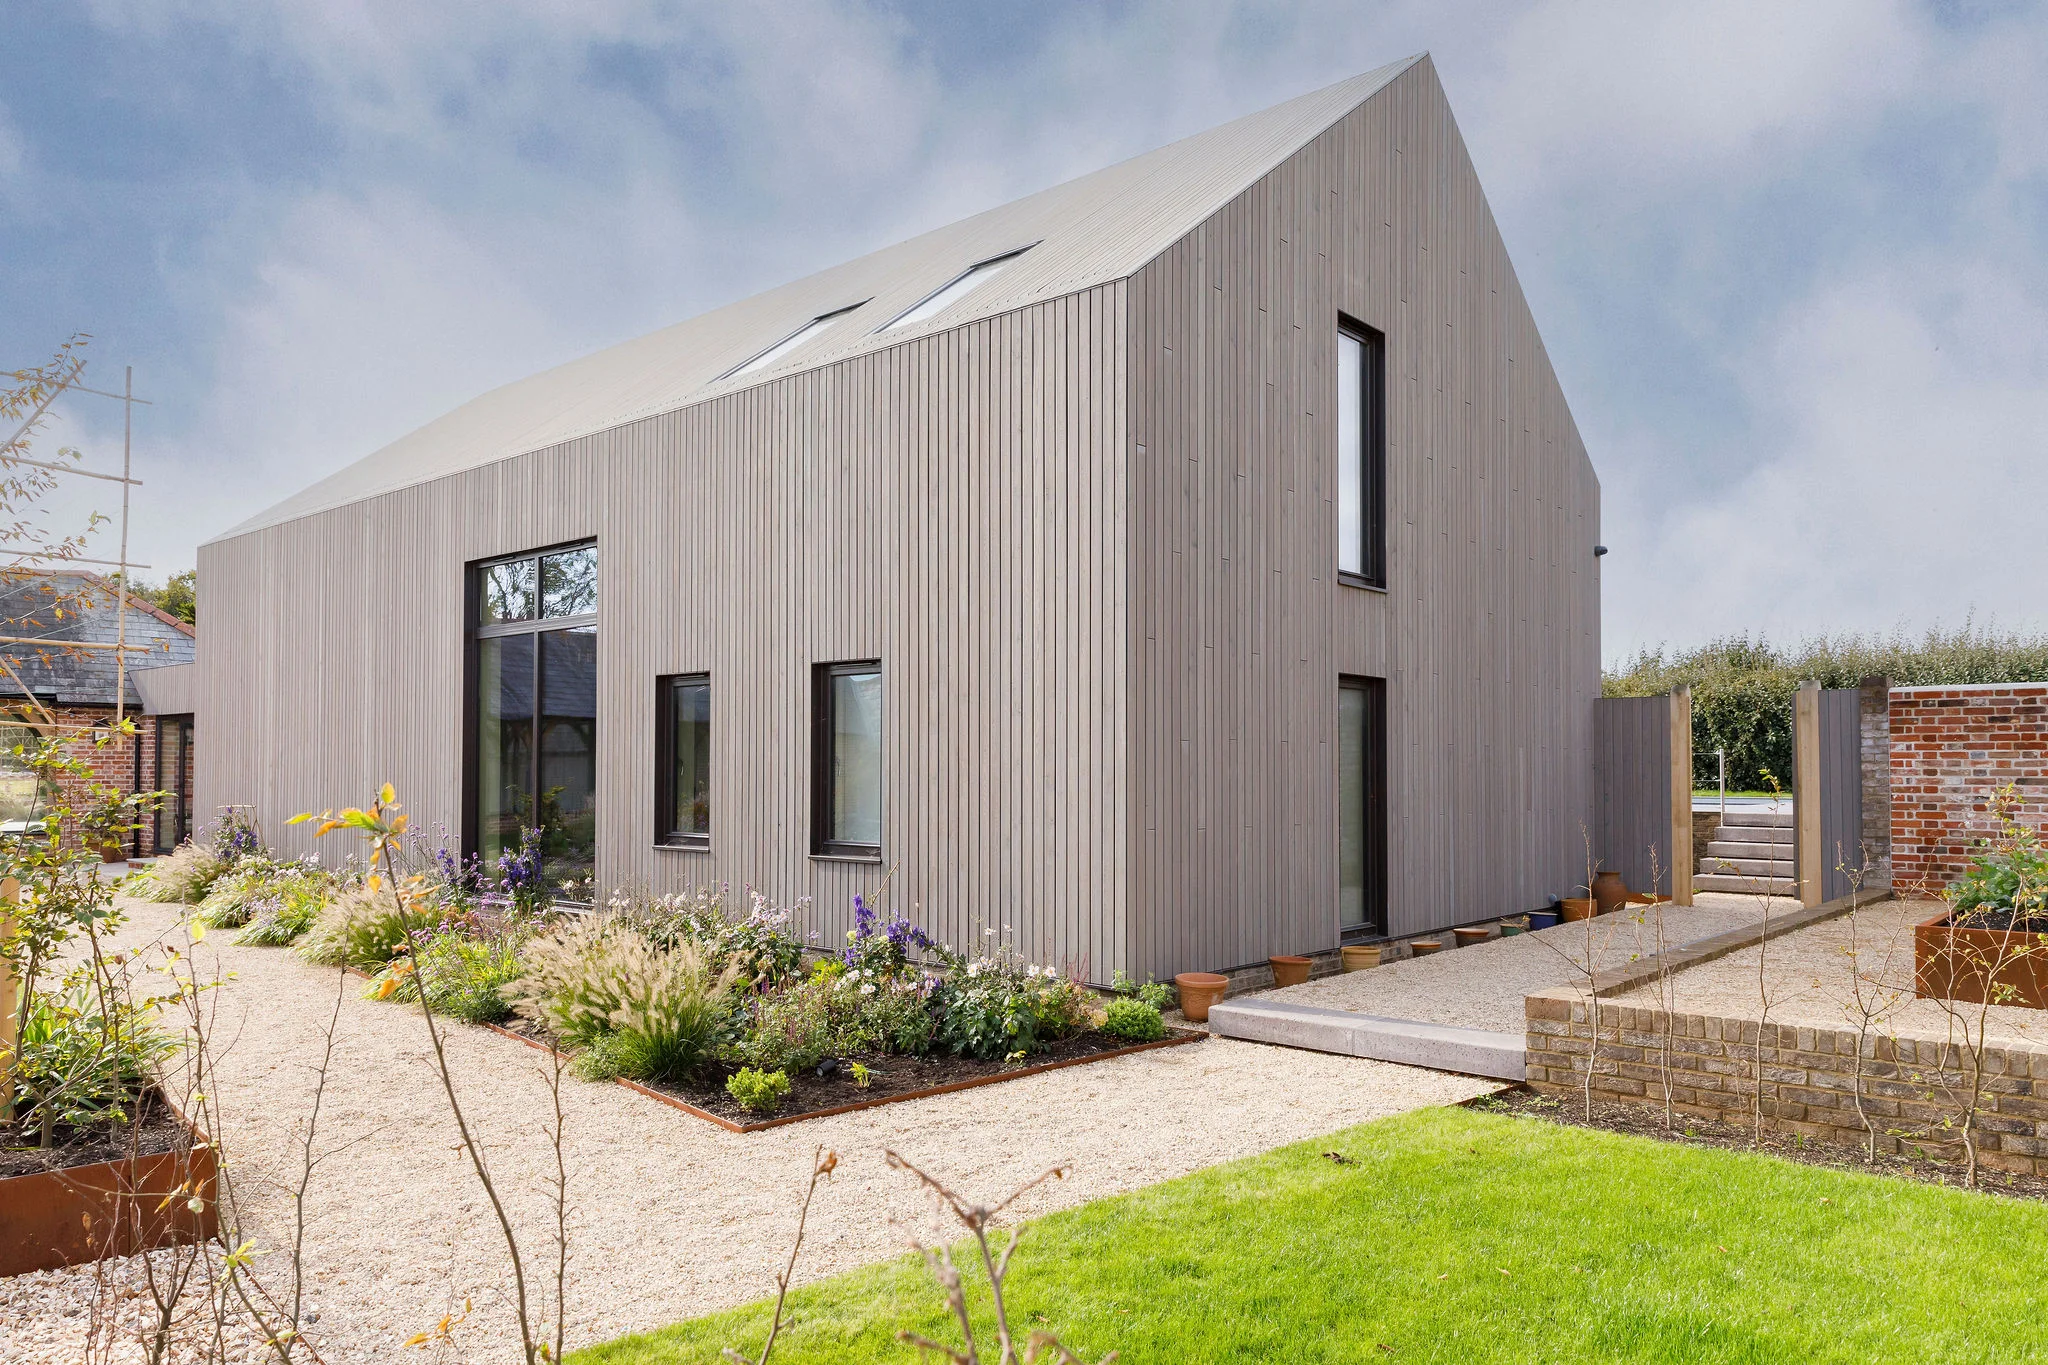
The same principle applies when considering whether or not to have the boards butt jointed. Russwood recommend leaving open joints (again the same 8mm wide gap or wider if preferred) by making them a part of your design, as butting the board ends together may create a moisture trap. It’s also worth keeping in mind that cladding boards in fixed lengths are not always guaranteed: it is a good idea to design by embracing the random open joints or by staggering the joints across the façade to create a pattern.
How to detail corners
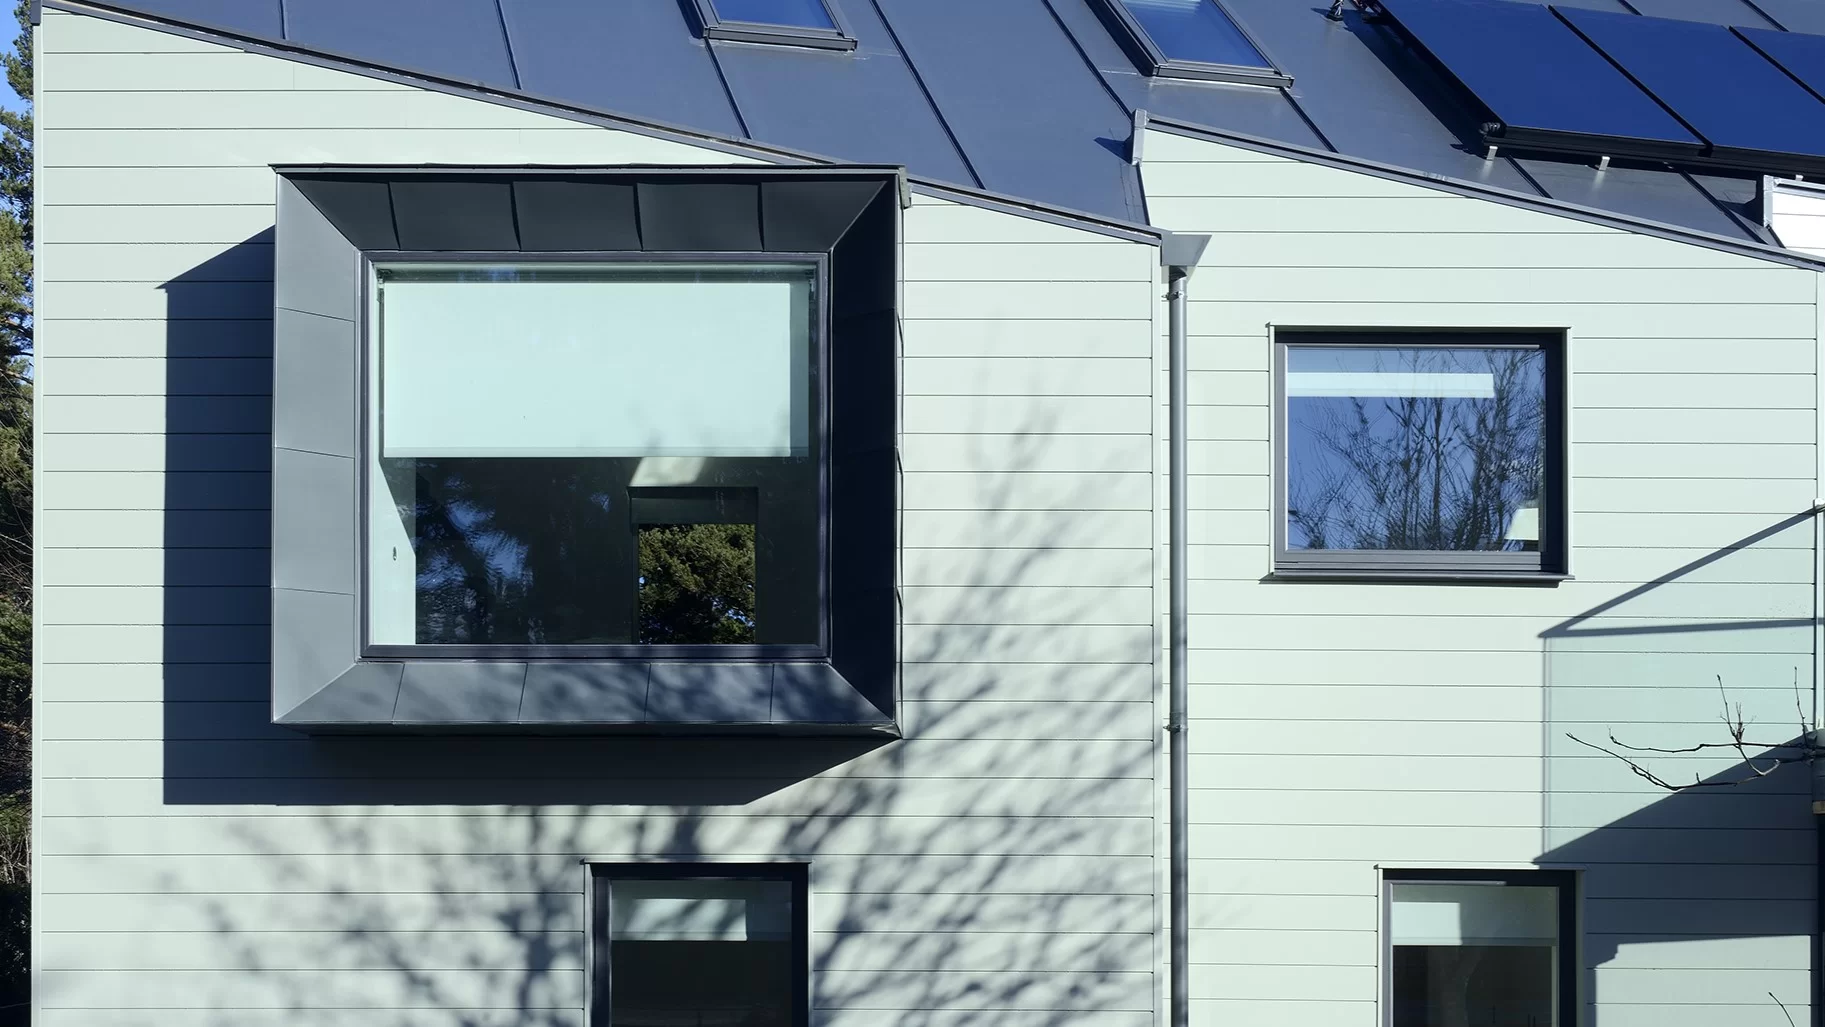
The benefits of open joints apply to corners as well. By leaving neatly mitred open joints at wall corners, you avoid worrying about designing bespoke (and costly) corner profiles, and also get an aesthetically pleasing and well performing detail. It’s worth mentioning that the open mitre joint detail works well with closed board arrangements as well (e.g. tongue & groove profiles; the joiner can mitre the corner boards on site during installation). When using a vertical rainscreen, these careful cuts should also be applied to the boards’ top and bottom ends. By chamfering them at least 15° you create a drip effect which allows the water to run off and not sit on the ends causing moisture ingress.
The importance of fixings
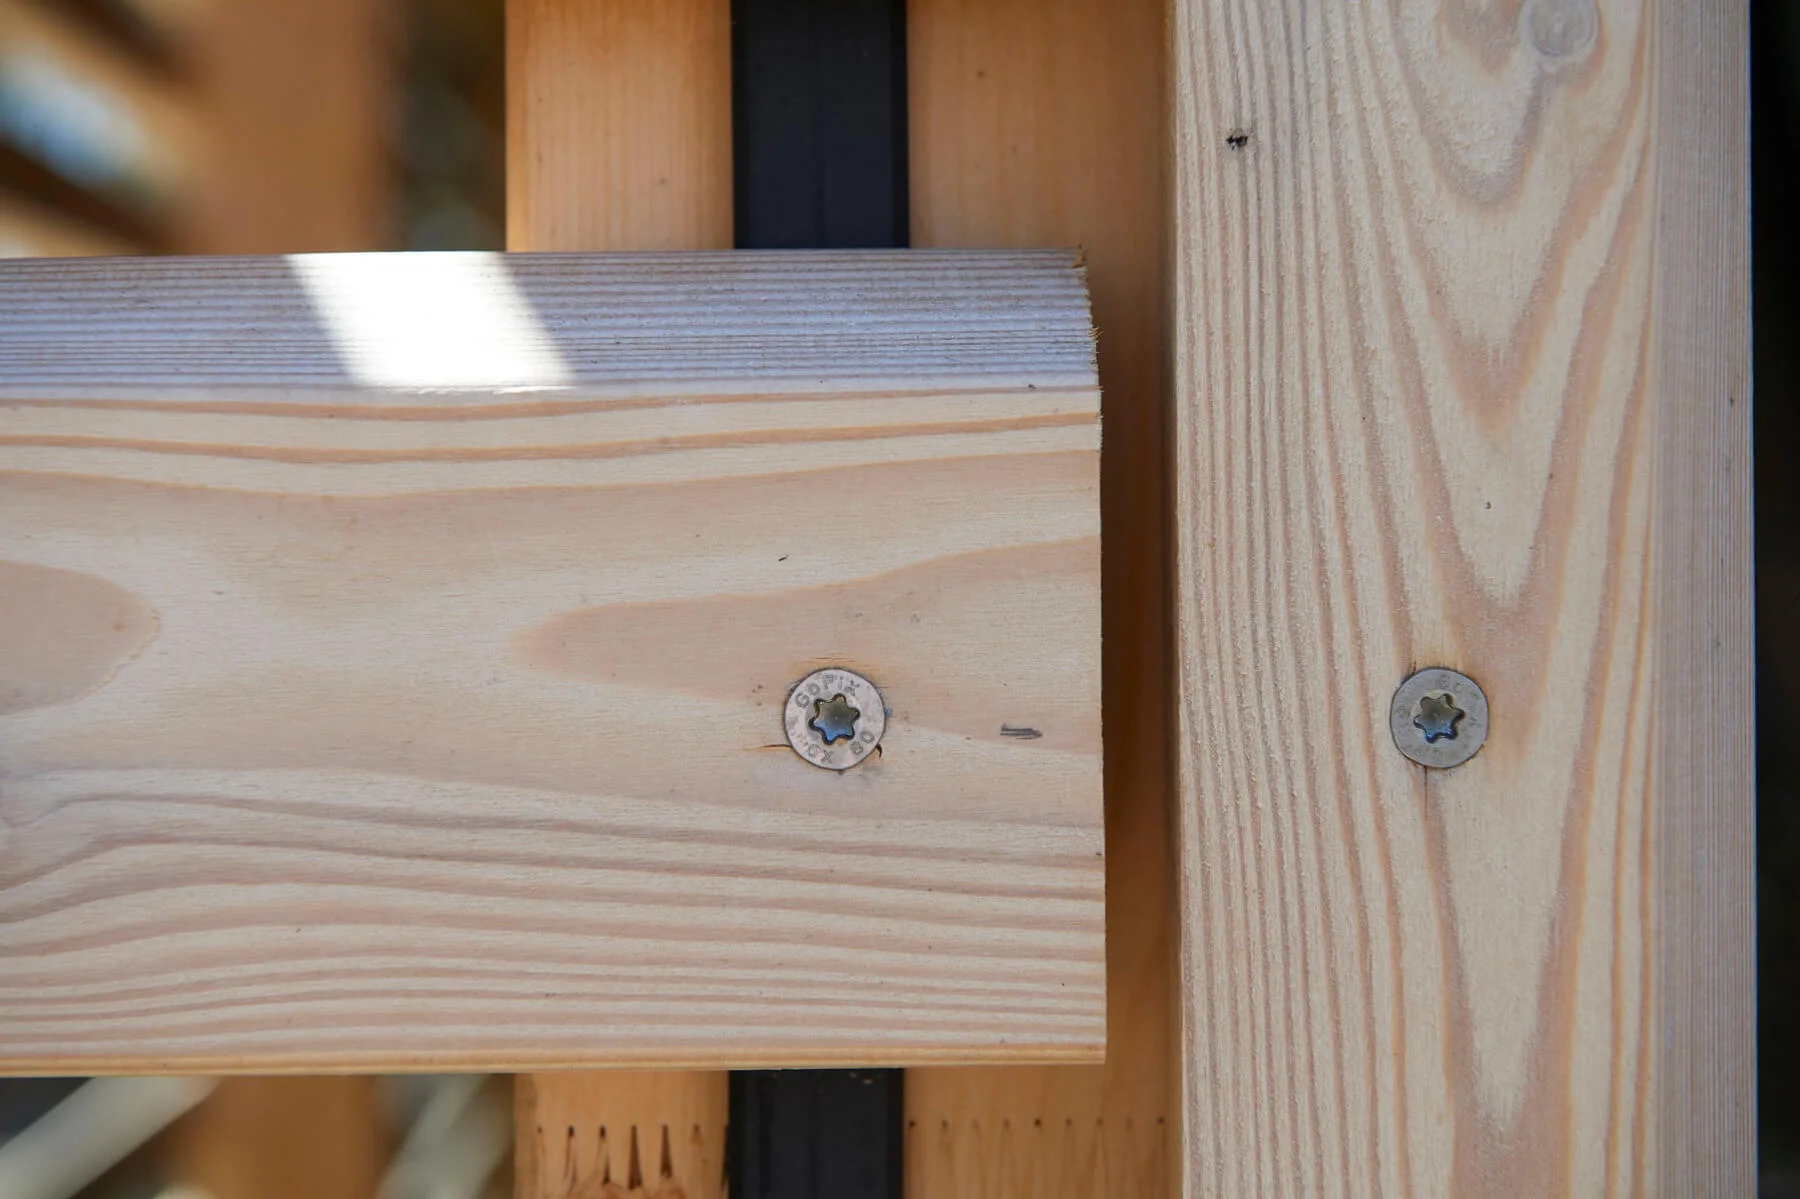
When using a beautiful product like timber cladding, you should want to take every measure you can to provide it with the conditions and system that will give you a long-lasting product. Therefore, the fixings you use will affect its performance and different applications will call for different fixings.
Russwood recommend using A2 grade stainless steel screws as opposed to nails as these can be easily overdriven into the board if using a nail gun, thus causing a “bullet hole” effect which can be a moisture trap. Not only do you have more control over the install when using screws, you also have the benefit of being able to easily remove the boards at the end of life and recycle/ reuse. Russwood supply precision-engineered Sihga® stainless-steel screws for a variety of applications.
A complete system
Another excellent component that can help with the longevity of the cladding (and decking) is KompeFix®. This flexible compression strip helps by offsetting the timber elements and creating ventilation all around the boards, whilst alleviating potential tension in that fixing point as a result of timber movement.
KompeFix® benefits all types of timber cladding (and decking), it can be used both vertically and horizontally installed on substructure battens before fixing timber cladding. KompeFix® has been incorporated into Russwood’s own Battening System; this engineer-assessed system has been developed to be environmentally friendly, quick to install, and compliant with EN 1995-1-1: Eurocode 5: Design of timber structures. We’ve used our expertise in order to deliver a full cladding and battening system to our customers and make the whole experience of using timber cladding less daunting.
Is insect mesh neccesary?
Whichever substructure you decide to use on your project, I can’t stress enough the importance of providing proper ventilation to the boards. Ventilation is achieved by leaving a minimum 20mm unobstructed ventilated cavity, which brings into question whether insect mesh is necessary for an open rainscreen. Normally the use of insect mesh at the top and bottom of the cladding is to stop any small rodents from getting inside the wall but when having a 8-10mm gap, the insect mesh becomes redundant and could potentially cause problems as leaves and debris can gather and obstruct air flow. Therefore, in an open rainscreen, an insect mesh could cause more harm than good.
We are here to help
These are just a few key elements to designing a well performing open rainscreen timber cladding and one should always discuss their design intentions with experts in the construction industry as not all timber is created equally and not all environments and applications will be straight forward. Our team are always available for an in-depth chat about using timber or you can schedule a CPD and learn about the wonderful applications in which you can specify Russwood timber.